One of the things that makes me feel most put together is having my nails done. But while I love having my nails done, I’m not a huge fan of getting them done.
Mainly, my problem is that sitting still isn’t my strong suit and that’s an even harder task when I can’t use my hands. But I digress. So in an effort to keep my hands busy while also keeping my hands and nails looking pretty, I taught myself how to do a profession-level manicure at home.
And now I’m here to help you do the same. Sure, if a friend asks, I’ll still go to a salon and get my nails done. And one of my favorite gifts to give people are certificates to the salon, so don’t worry I still support those hardworking men and women. But some days, it’s just something we don’t have the extra money for or we don’t have the time, and this is how we solve that problem.
RELATED: 35 Gifts Available on Amazon That Any Coffee Lover Would Be Elated Over
I’m going to take you through, step-by-step, how I do my nails and along the way, highlighting the various things I use to accomplish the goal, a professional-looking manicure done right at home. Okay, let’s get starting.
The first I like to do is prep my nails by first taking off old nails polish with this polish remover:
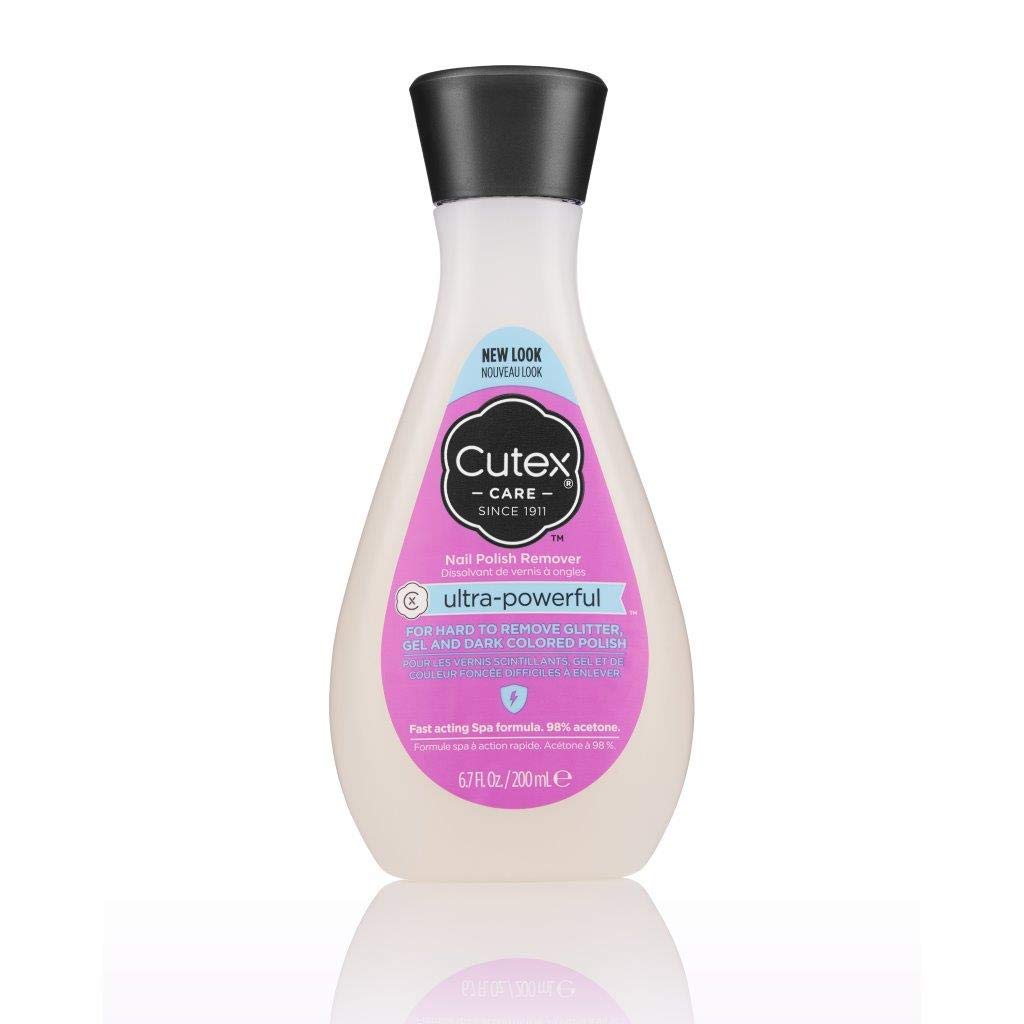
And depending on if I have gel or dip powder on my nails, I use these clips to help keep the soaked cotton balls on my nails until the polish is ready to come off.
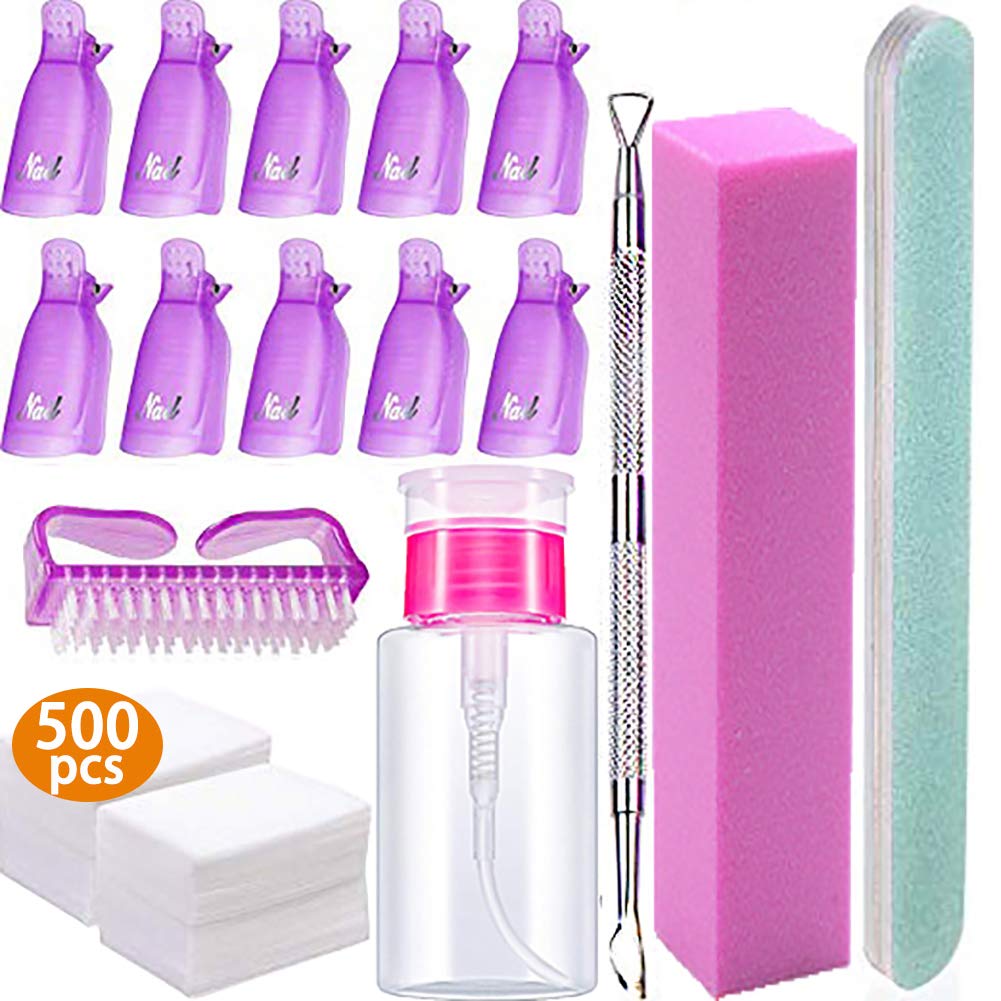
This is the kit I first purchased when I decided I would teach myself how to do an at-home manicure.
I then buff my nails. To do this, it really depends on the state my nails are in after taking off my polish in picking the next instrument I use. If they don’t have a lot of imperfections, I use a standard buffer like the one that comes in the above kit. However, if my natural nails are in sad shape, I use this Electric Nail Drill.
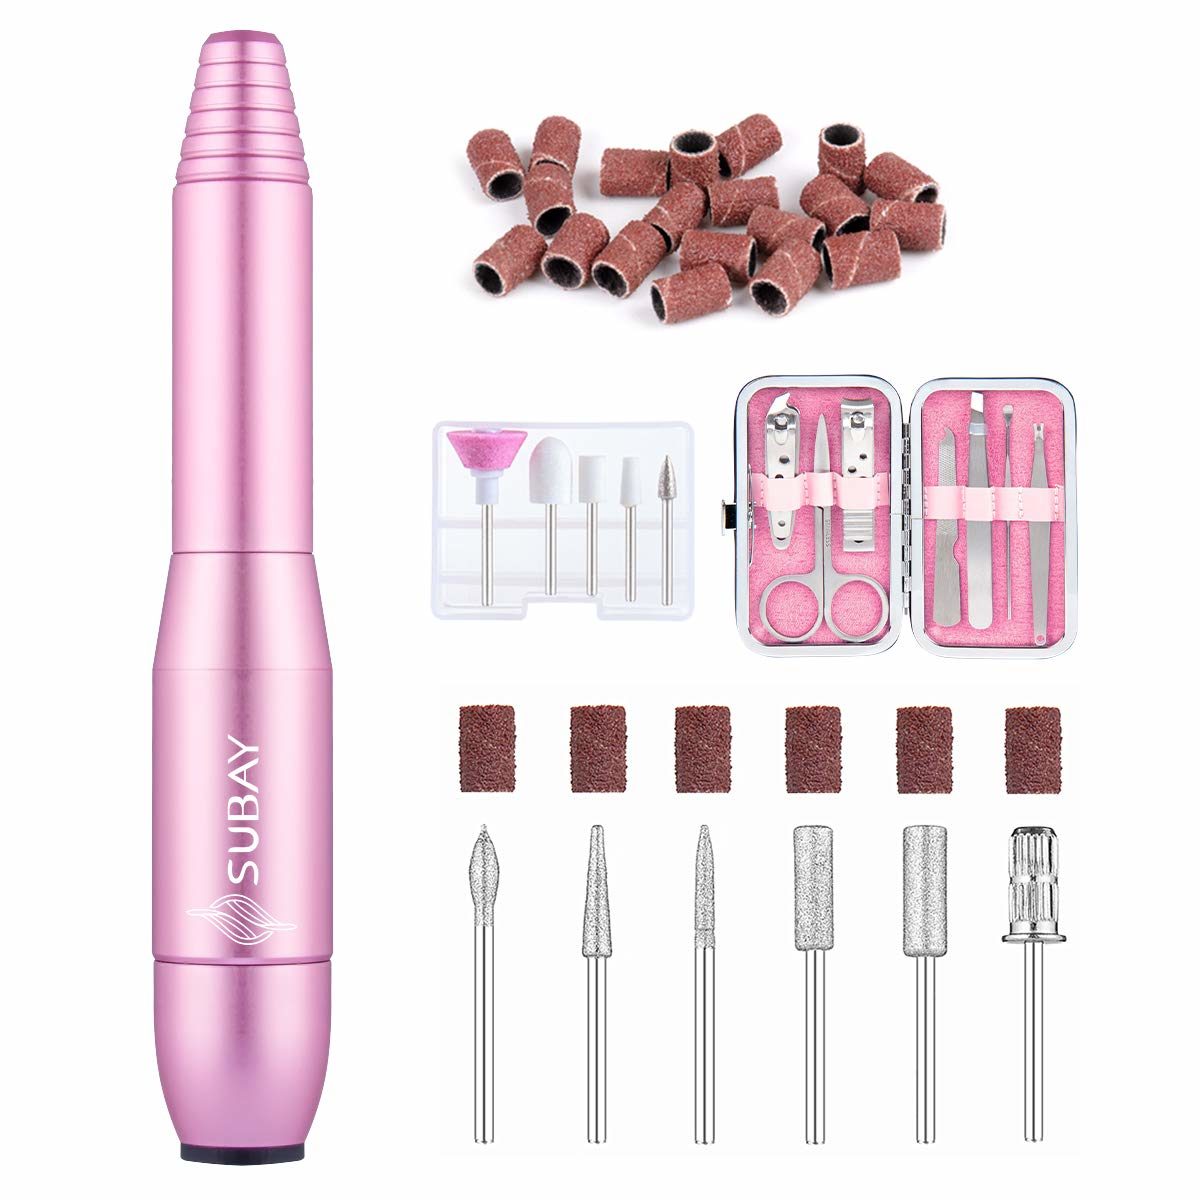
The trick to using this electric nail drill is to not apply pressure when gliding it across your nails. My favorite attachment to use on my nails is the smaller cylinder with a sand band on it. After getting my nails smooth, I then replace the cylinder attachment with one of the buffer attachments and go over my nails quickly with that.
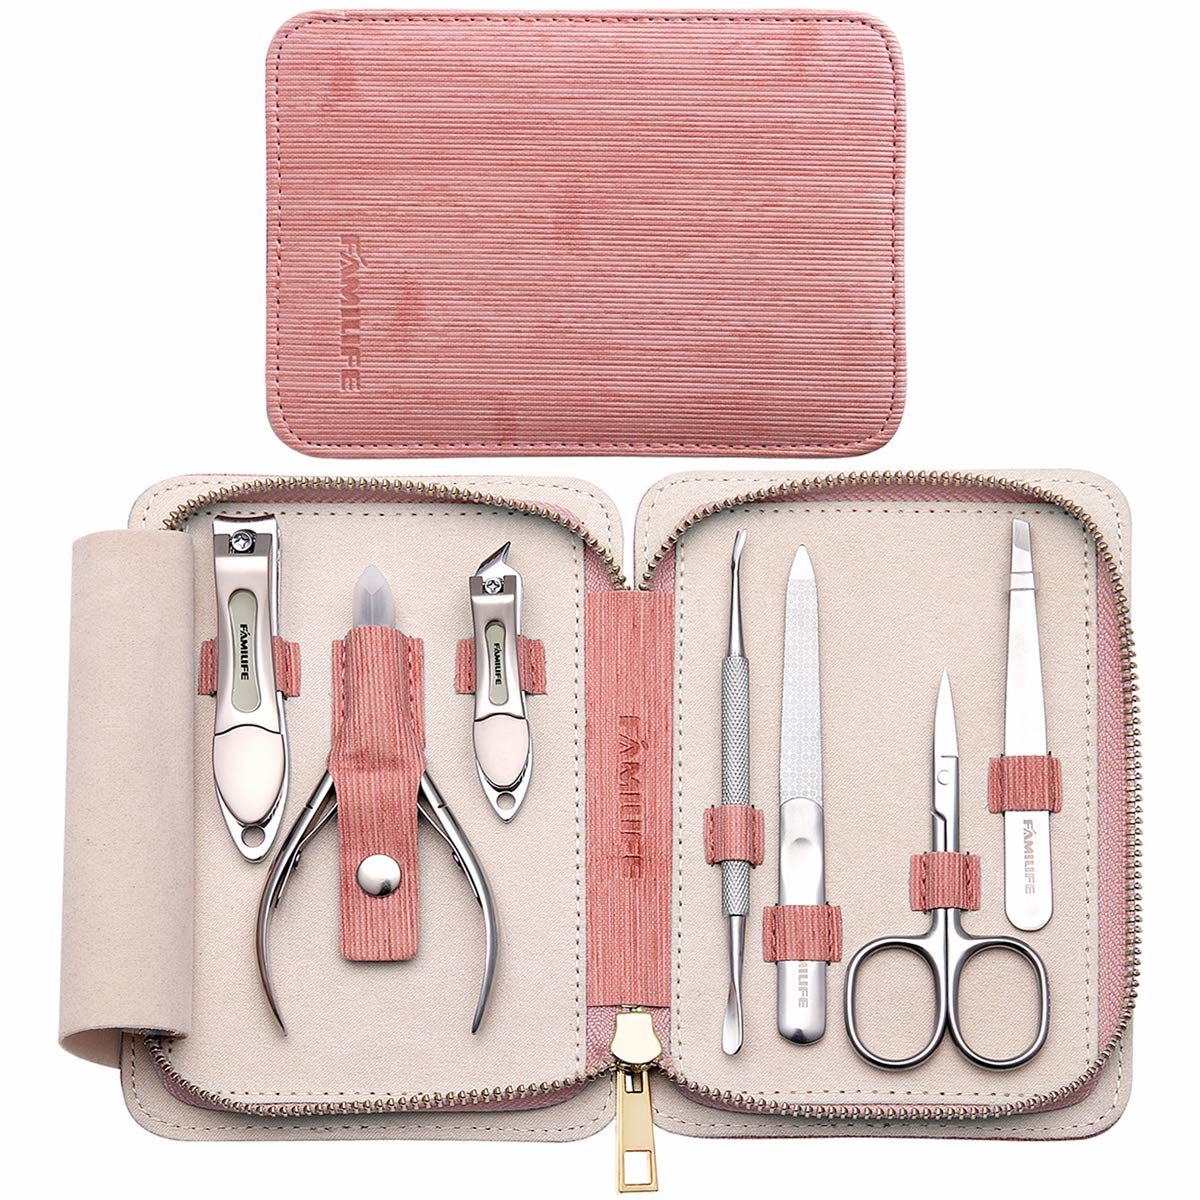
This is when I shape my nails. I either use a nail file if I already like the length of my nails, or I will clip them and then shape them. I own this clipping kit to help me do that.
Next, I take these nail polish remover wipes over each of my nails and then wash my hands.

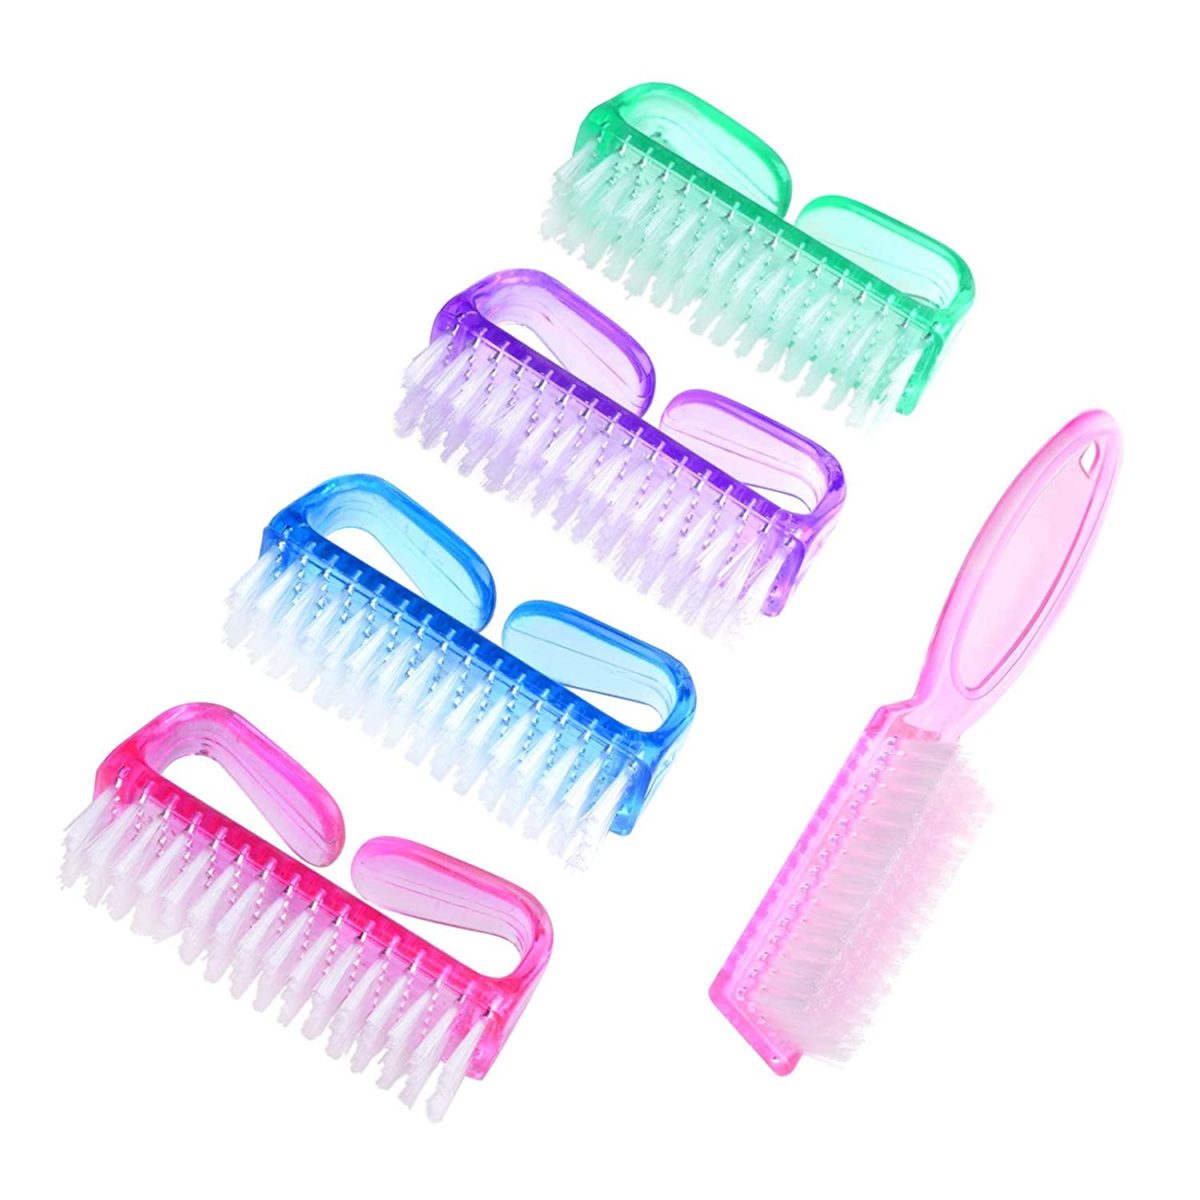
Now, the fun part, which is choosing if I’m in the mood to dip my nails, use gel polish, or regular polish. In terms of effort, gel takes the longest in my experience. I personally think dipping my nails is the easiest and now that I’m comfortable with it, it doesn’t take all that long either. And the drying time is no more than five minutes. And as I’m sure many of you are aware, using regular polish is the easiest, but takes the longest to dry.
If my favorite dip powder I have used is this kit:
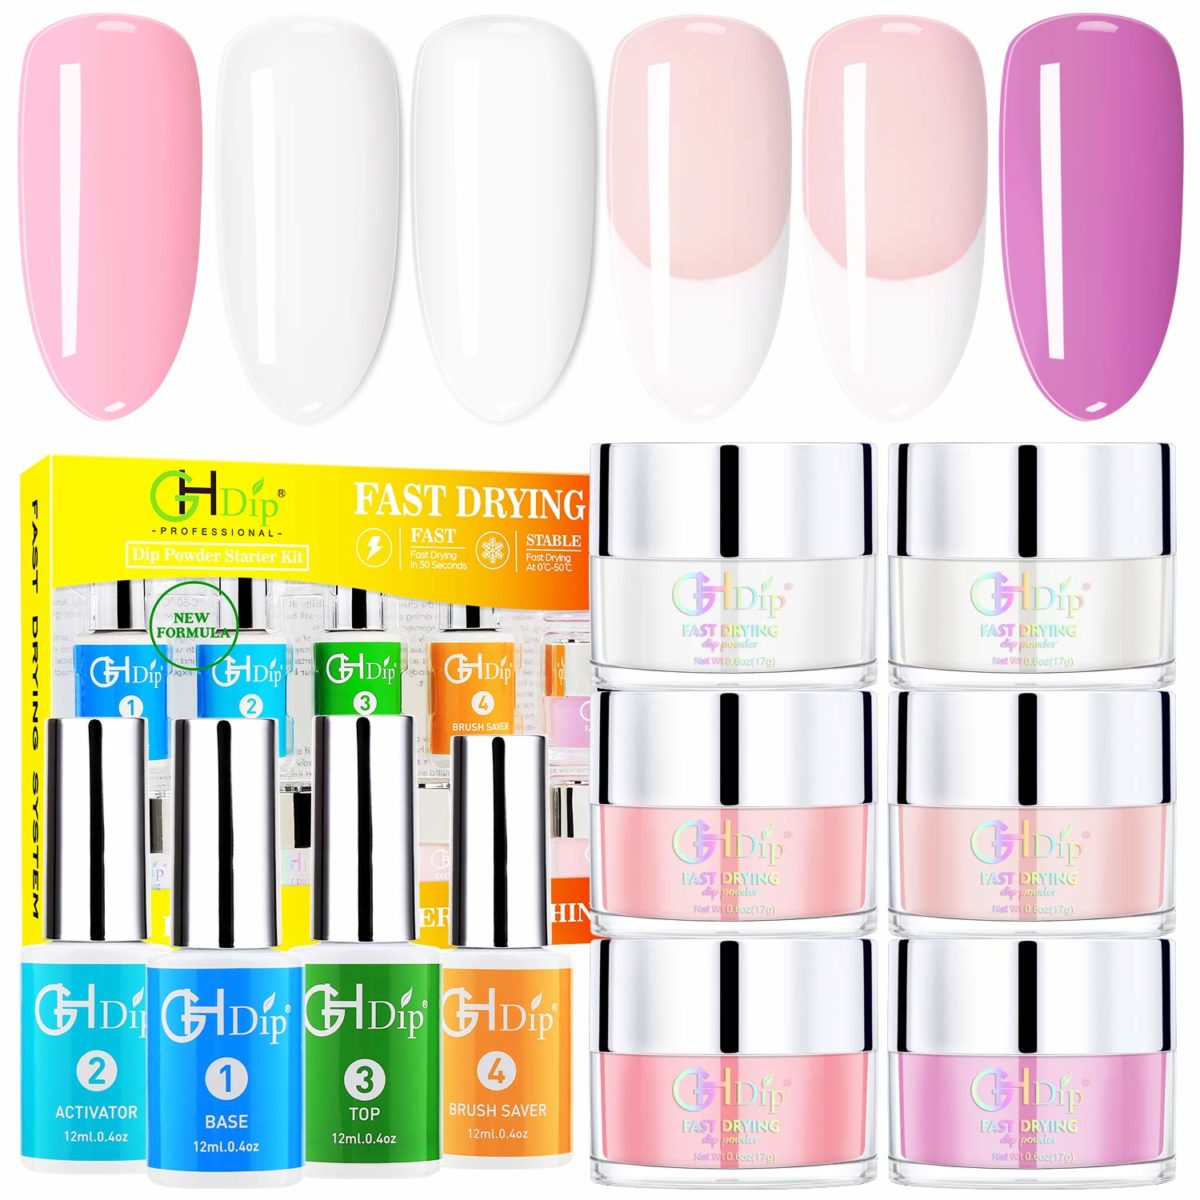
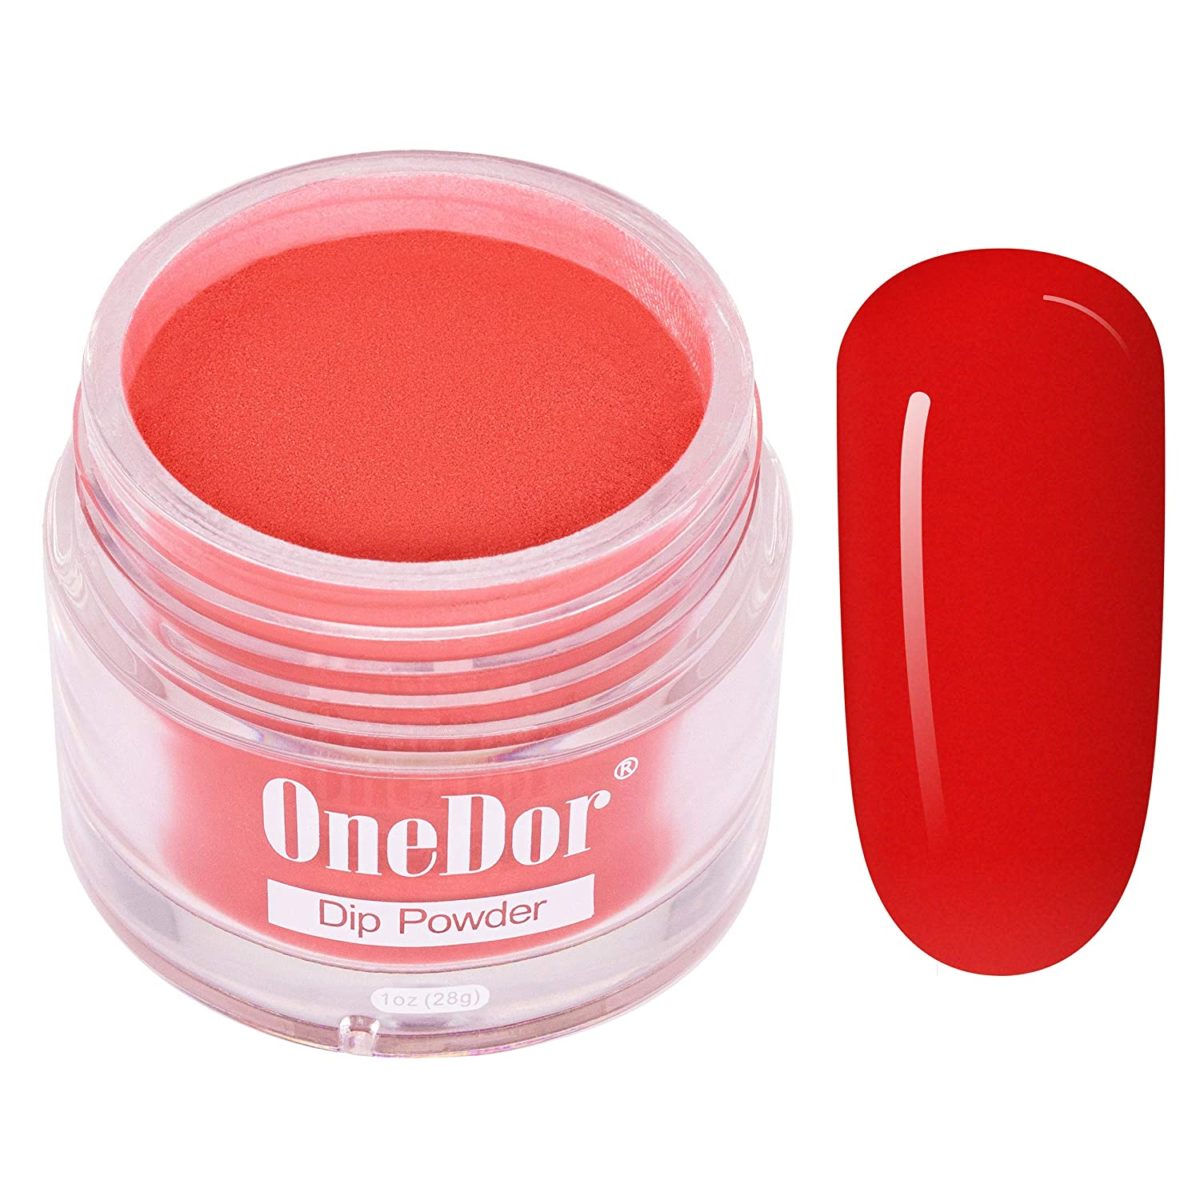
Not only is it great quality, but it lays out the steps you need to take pretty easily. I’ve also liked this powder as well. Not only is it great quality as well, but it’s also the perfect red, which is my favorite color to wear on my nails, especially in the fall and winter months.
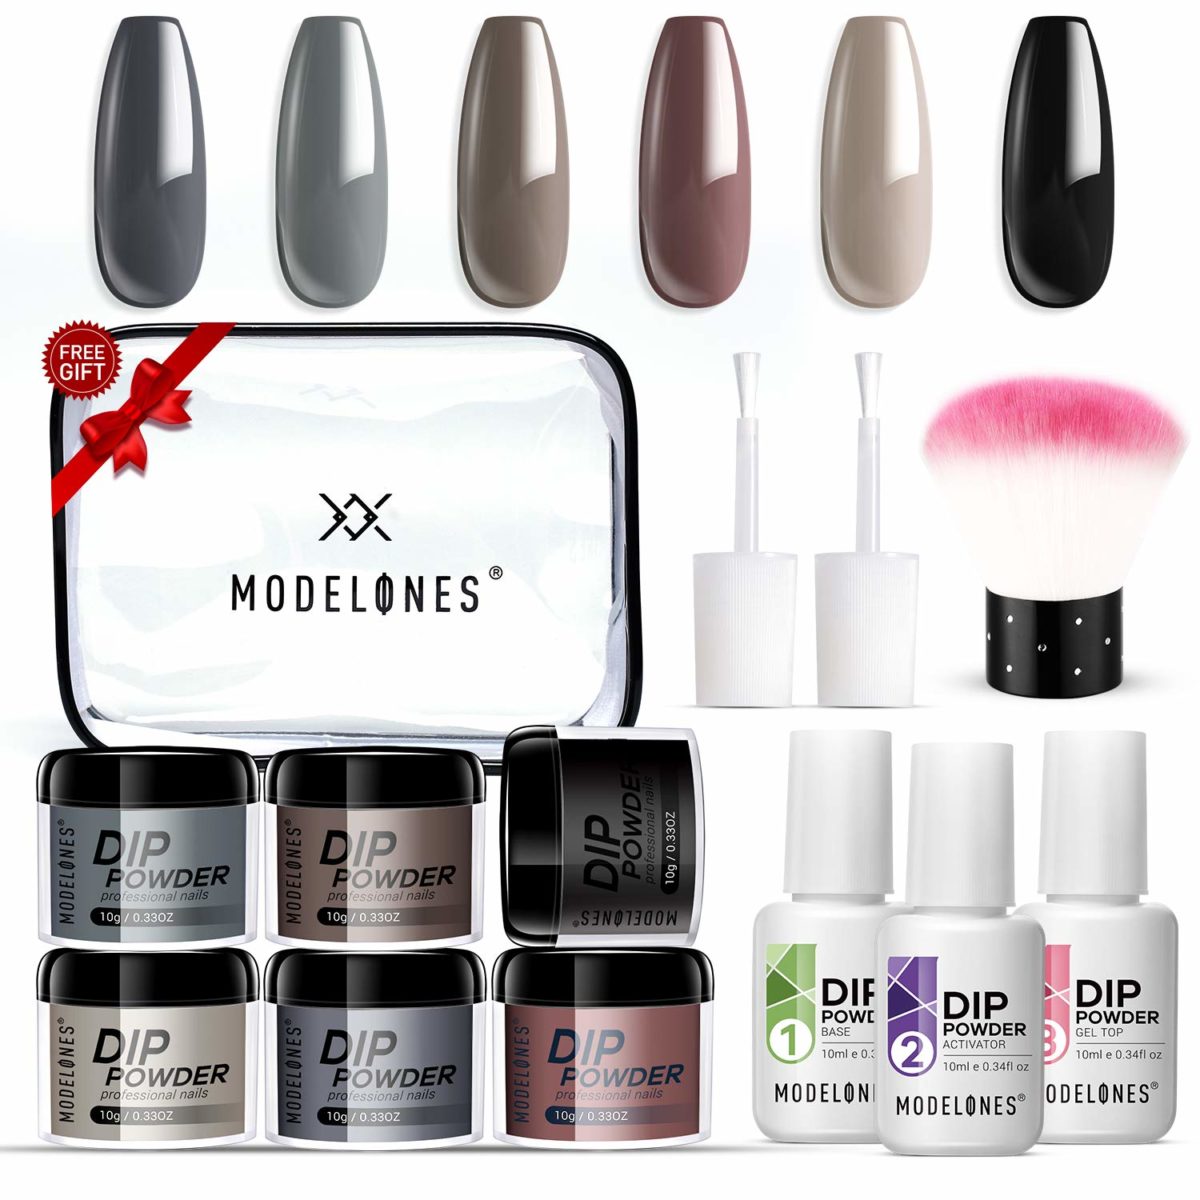
I own this kit as well. The dip powders are good and I love the neutral colors. However, I will say I prefer the polishes in the first kit I shared with you rather than the polishes that come in this kit. The good news is, is that I can use these powders with the polishes in the first kit!
Now that we picked out the color, it’s time to start dipping. First, apply a base coat with the base polish. Do one nail at a time, and dip into your powder as you go nail by nail. I like to do two coats, so paint and dip all of your nails, and then repeat.
Here is a pro tip, leave your nail in the powder for a brief second before pulling it out. Then make sure you tab the access powder off of your nails and back into the container. After dipping each nail twice, it’s time to apply the activator to each nail. You just need one coat of this, then take your electric nail drill and lightly go over each nail to buff out any bumps and lumps.
And before you know it, you’re at the final step of the process, the topcoat. Apply one coat of the topcoat, wait about 30 seconds, then apply a second coat. Once you do that, your nails should be dry and looking fabulous in about two minutes! And they’ll stay that way for about two weeks!
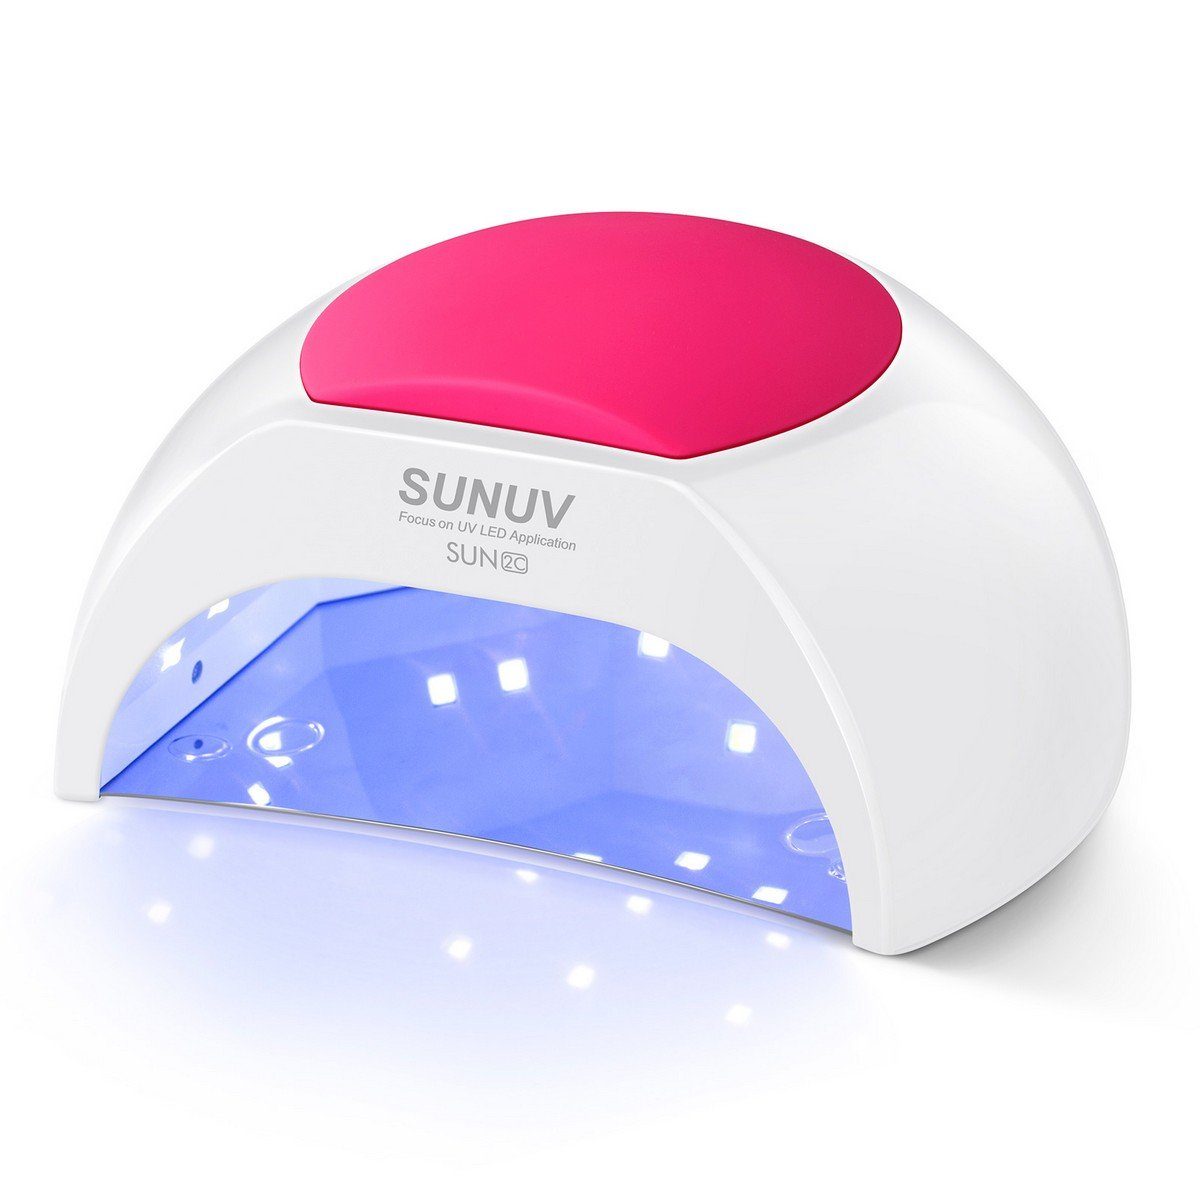
Now, if I feel like doing gel nail polish, I use this UV light:
My favorite brand of gel nail polish is Sally Hansen. This particular kit is a great place to start. It comes with a light, although I can’t speak to this brand of UV light, all three steps of nail polish, nail cleaning pads, nail polish remover, and more.
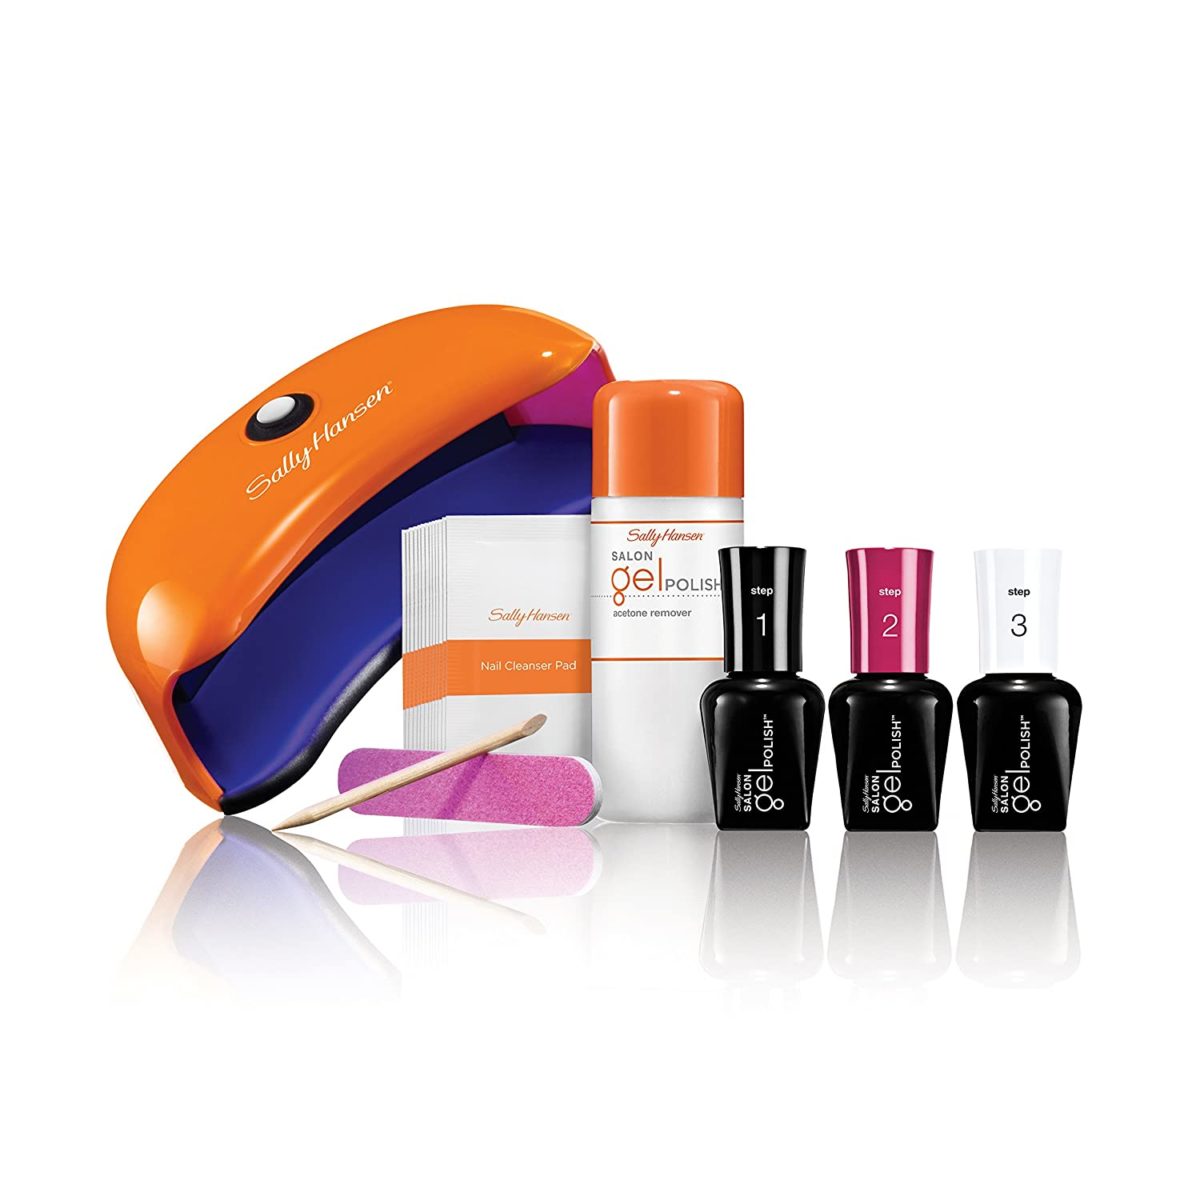
When it comes to applying the gel polish, I like attending to one hand at a time, compared to dip. So, to start, first, apply step 1 to one hand and allow it to sit under the UV light for one session, which is usually about 90 seconds. Then apply step 2 which is the color. Again, put your hand back under the UV light for one session, before repeating step 2 and putting it under the UV lights for the third time. After applying two coats of color, apply step 3.
I only apply one coat of step 3 but still leave my nails under the UV light for two rounds. Then take one of the nail cleaning pads and wipe down each nail. After that, you’re finished with the first hand and should be ready to take on the next!
Now, i’m not someone who likes to put powder or gel polishes on my toes. So I still buy regular nails polish for that reason. But I won’t like, some days, I need my nails to look nice and the easiest option is just to grab the regular old polish. I will say that my top two favorite brands to use are Olive & June or Essie. Here are my top Essie colors:
essie Nail Polish
$8.99 at the time of publication
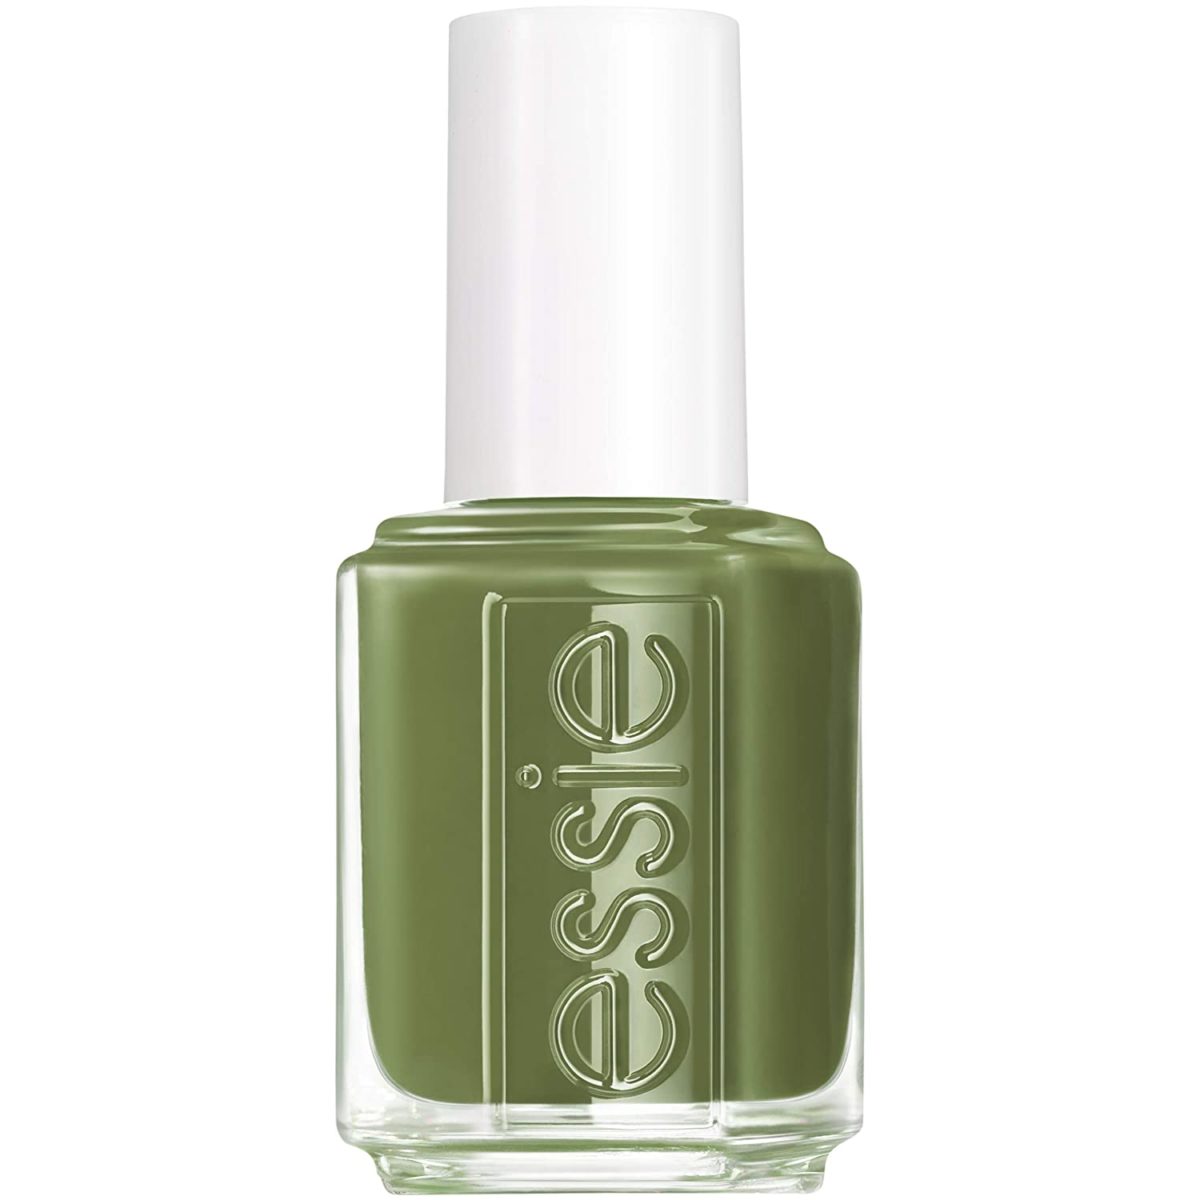
This color is perfect for every season and every event. Many people tend to think negatively about green-colored nail polish, but to me, this unique color will not only make you stand out, but it’s beautiful and goes on so well.
essie Nail Polish
$8.99 at the time of publication
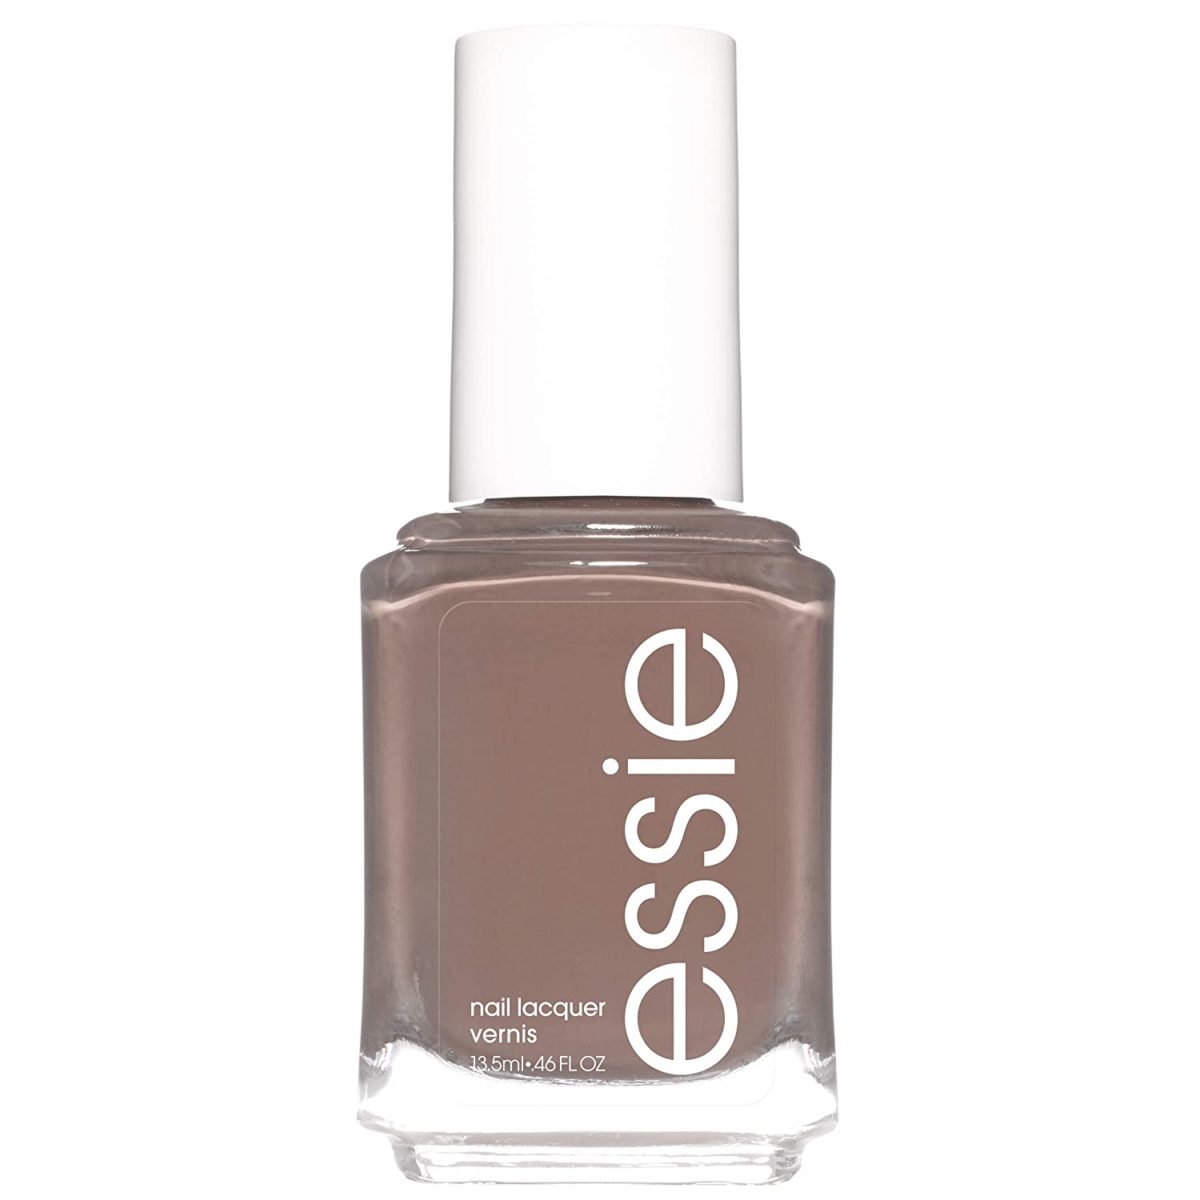
Just like the green, I love a good nail color that goes with anything and can be worn at any time. This neutral tan color is just that! It’s hands down one of my all-time favorites, second to red.
essie Gel Couture Longwear Nail Polish
$11.49 at the time of publication
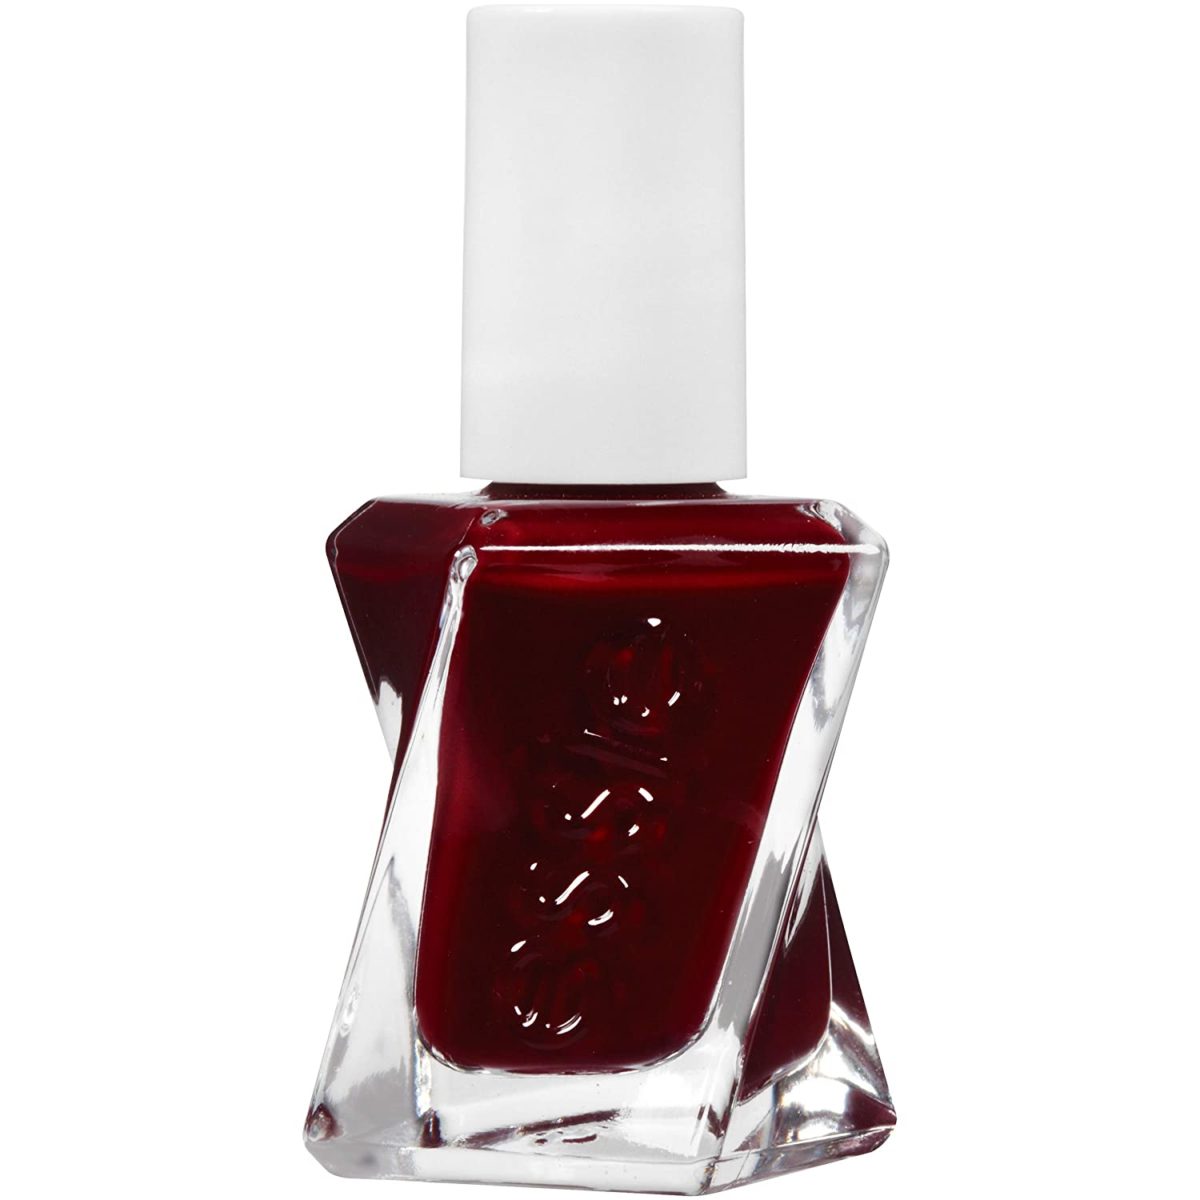
This deep red is something else. And it’s the color I have worn on my toes for the last several months. It’s one of my favorite go-tos, especially during the winter months. However, because it’s also a part of their no UV gel collection, you also have to buy the topcoat with this specific color.
Essie Gel Couture Full Collection
$10 at the time of publication
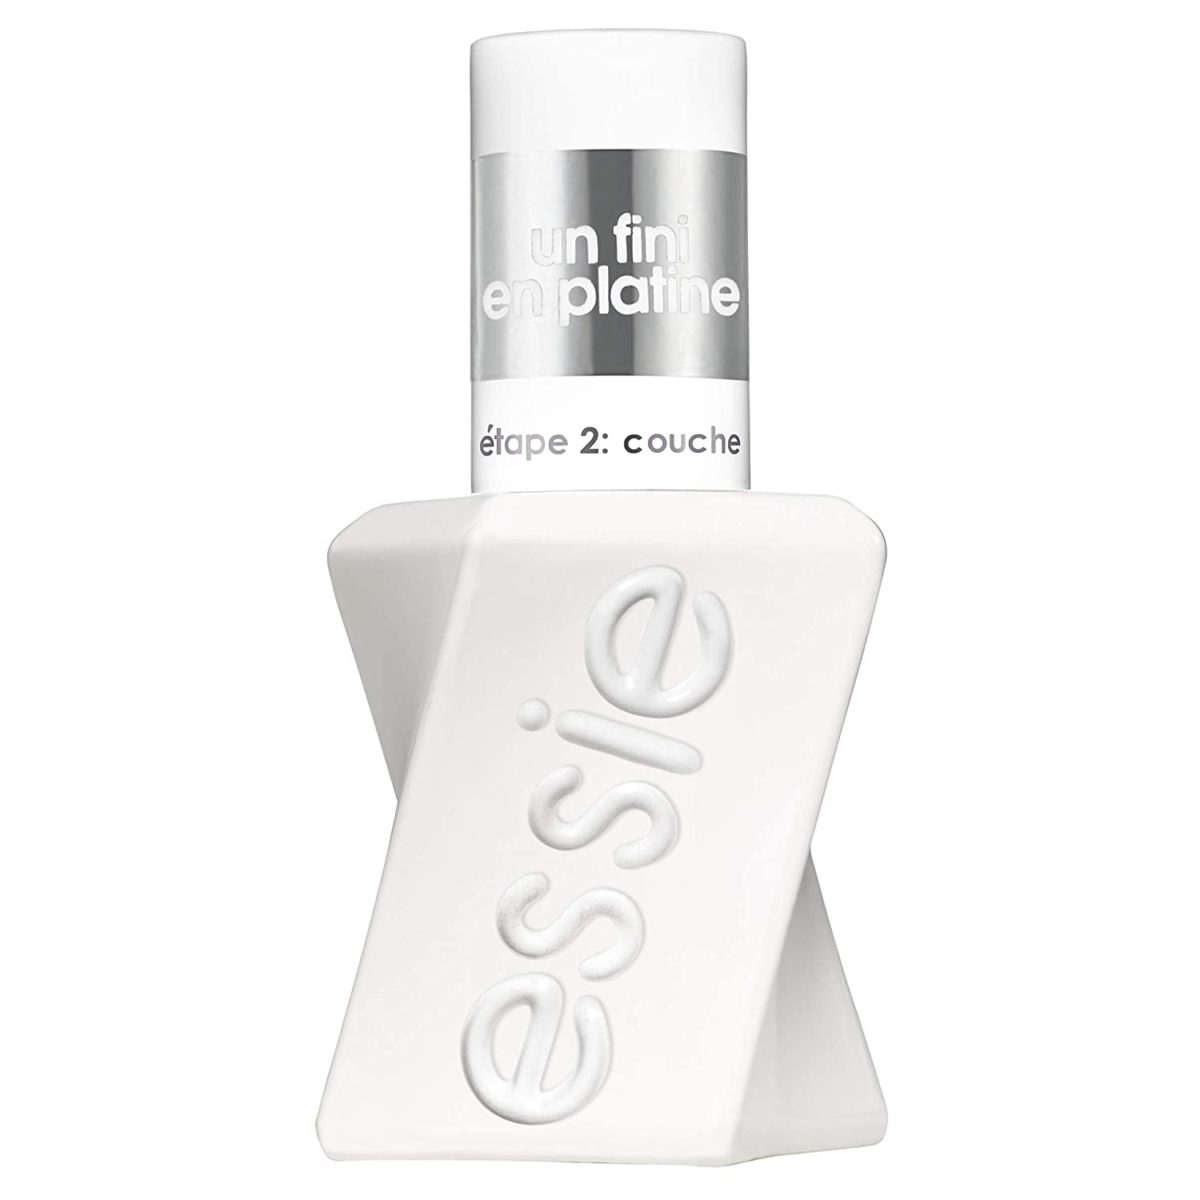
This is the top coat you put on after applying two coats of the gel color! It’s purpose to cure like UV gel polish so that it lasts and doesn’t chip!
Pear Nova Holiday Essentials Nail Set
$72 at the time of publication
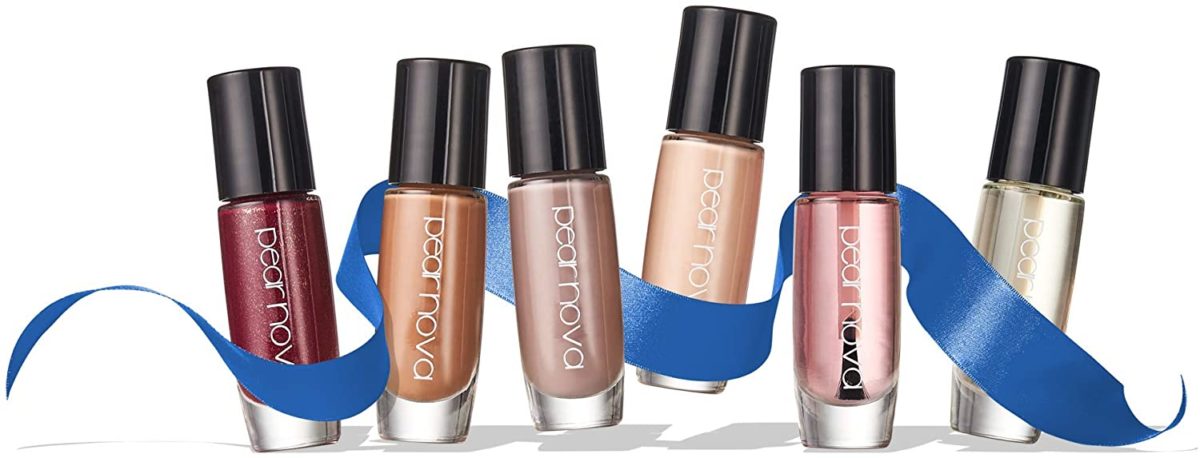
And if you’re interested in the nail polish Oprah loves, the legendary TV host says this set, which includes “neutral shades for a range of skin tones, plus a holiday-perfect berry polish, a cuticle oil, and a topcoat—was created just for O readers with DIY days in mind.”
And finally, after all of this is said and done, no matter if you dipped your nails, used gel polish, or regular polish, I always finish up my manicure with a nice dab of lotion.
54 Thrones African Beauty Body Butter Gift Set Tin
$64 at the time of publication
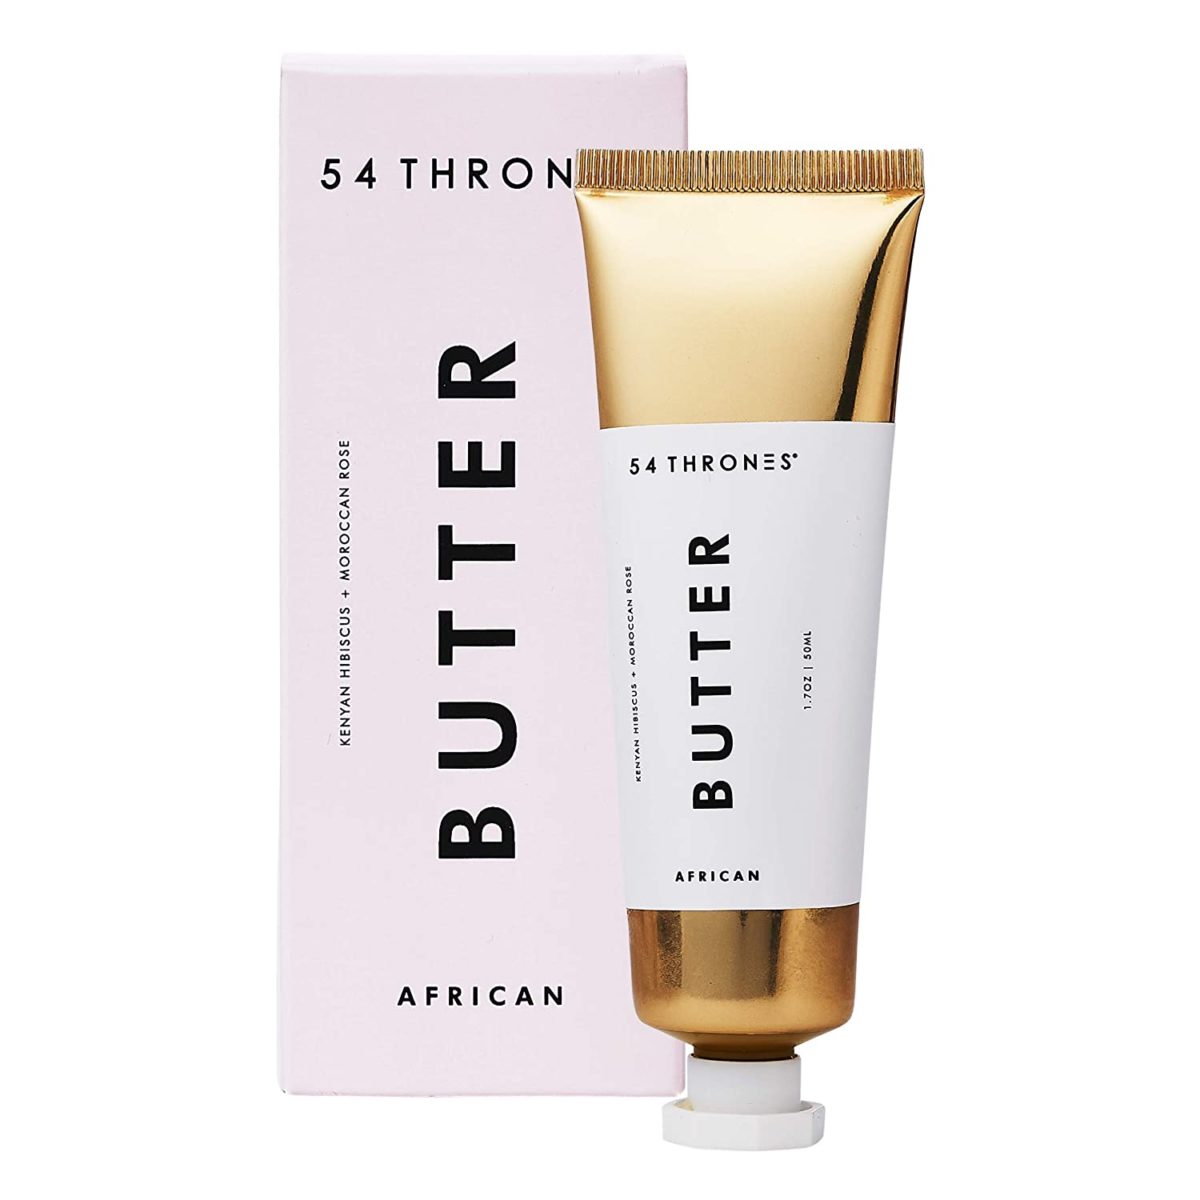
Just rub it in to leave your hands and nail looking their best!
Well, there you have it! Three different ways and all the items you need to give yourself a professional-level and professional-looking manicure while never having to leave your own home.
These items would also make for great gifts if you have someone you know who would love to learn how to do their own nails. And don’t forget to view our other gift guides on our shopping page!
Mamas Uncut is a participant in multiple affiliate programs, including the Amazon Services LLC Associates Program, an affiliate advertising program designed to provide a means for sites to earn advertising fees by advertising and linking to Amazon.com. Mamas Uncut may earn a percentage of revenue generated from purchases made via the links in this post.
Mamas Uncut is THE online place for moms. We cover the latest about motherhood, parenting, and entertainment as well – all with a mom-focused twist. So if you're looking for parenting advice from real parents, we have plenty of it, all for moms from moms, and also experts. Because, at the end of the day, our mission is focused solely on empowering moms and moms-to-be with the knowledge and answers they’re looking for in one safe space.
