A fun, crafty project that never seems to go out of style is tie dye. Tie dye is a blast for the whole family and chances are that if you have done some tie dying with your kids a few times, you might be looking for more exciting tie dye patterns and methods to create even more exciting designs.
Tie dye patterns make creating the most intricate swirling shape and unique graphic imagery. For instance, did you know there is a tie dye pattern that allows you to put Mickey Mouse symbols on shirts, pillowcases, and more? Oh yeah, the possibilities are endless when it comes to tie dye patterns. We wanted to share with you some of the best of the best so that you and your kids can discover even more tie dye grooviness!
Check Out These 21 Tie Dye Patterns for Even More Groovy Fun!
Basic Tie Dye Patterns to Try:
Spiral Dye
One of the easiest and most rewarding tie dye patterns out there is the spiral dye technique. Choose where you want the center of your spiral to be and pinch it. Then, twist the shirt (or pillowcase, or whatever) tightly, and as you do so, you will see the shirt turning into a spiral. Once you’ve got your little spiral all tightly wound, use multiple rubber bands to keep the shirt in place. Place dye between the bands and you’ve created a spiral dye shirt!
Crumpled Up Easy Tie Dye
Crumple tie dye patterns are actually not patterns at all! In fact, they are completely random and create some truly interesting tie dye. Simply crumple your shirt into a tight ball like you would a piece of paper going into a wastebasket. Put rubber bands over it to hold the ball in place, then add dye! It’s that easy!
More Basic,Yet Cute, Tie Dye Patterns
Bull’s Eye!
Here is one of the tie dye patterns on this list that really benefits from only applying one color dye. The bull’s eye method is also very easy. Simple pinch your shirt where you want the center of the “eye” to be. An inch below your pinch, wrap a rubber band around the “tail” that hangs below. Repeat until you have created a long tube-like mass. Apply dye between the bands and you’ve made a bull’s eye.
Baby Bulls’ Eyes
Just like the big bull’s eye, little baby bull’s eye tie dye patterns are just miniature versions. They bring big visual interest when they cover a shirt. Just pinch a smaller bit of shirt and place rubber bands in closer proximity to achieve the baby bull’s eye look.
Next Level Tie Dye Patterns
Hearts!
This one is a little trickier to pull off, but all tie dye patterns are relatively easy if you just take your time. Start by cutting a heart-shape out of a piece of paper. Then, fold your shirt in half. Trace the heart onto your shirt with a washable marker, making sure the seam of your heart aligns with the seam of your shirt. Pleat the shirt along the line and wrap a rubber band around it to secure it.
For the rest of the shirt, often referred to as the “tail,” rubber band it to your liking. After you’ve got your bands, apply color.
Triangle Tie Dye Patterns
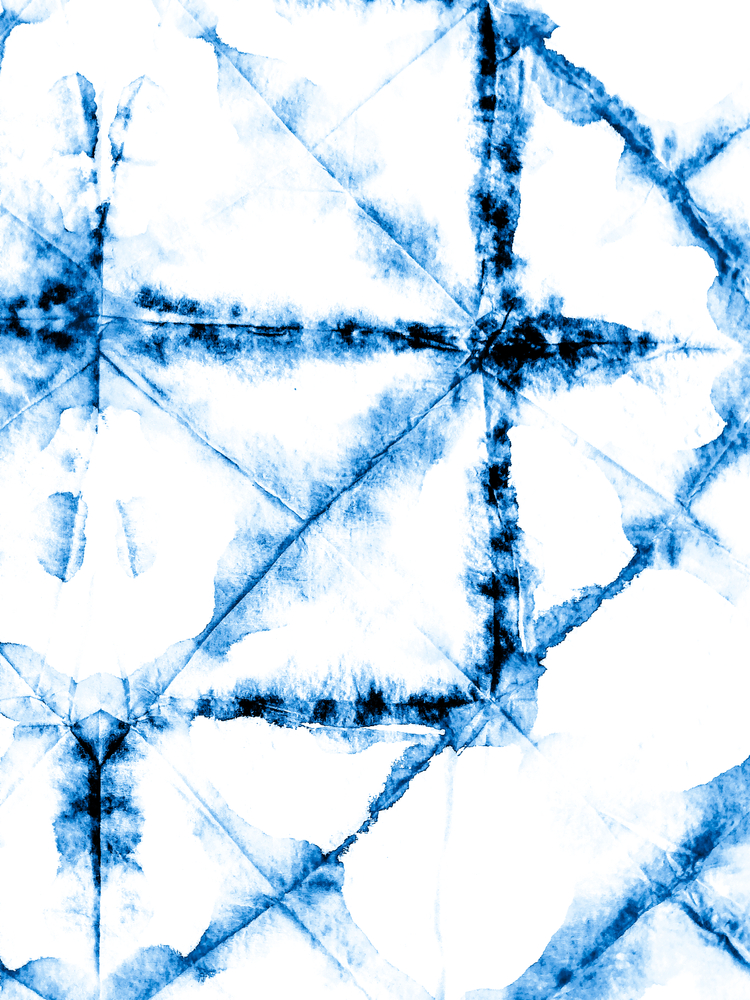
To create a triangle tie dye pattern, you need to turn the shirt you’re working with into one, long strip. So, bring in the sleeves of the shirt to fold it at the collar, then fold it again (so that you’ve folded it into thirds). Starting at one end, fold the shirt accordion-style into a triangle. It’s like folding a flag up. Now, using cardboard, cut pieces to help hold the shirt together, then use bands or string to smush the shirt between the two pieces of cardboard. Dye!
Shibori
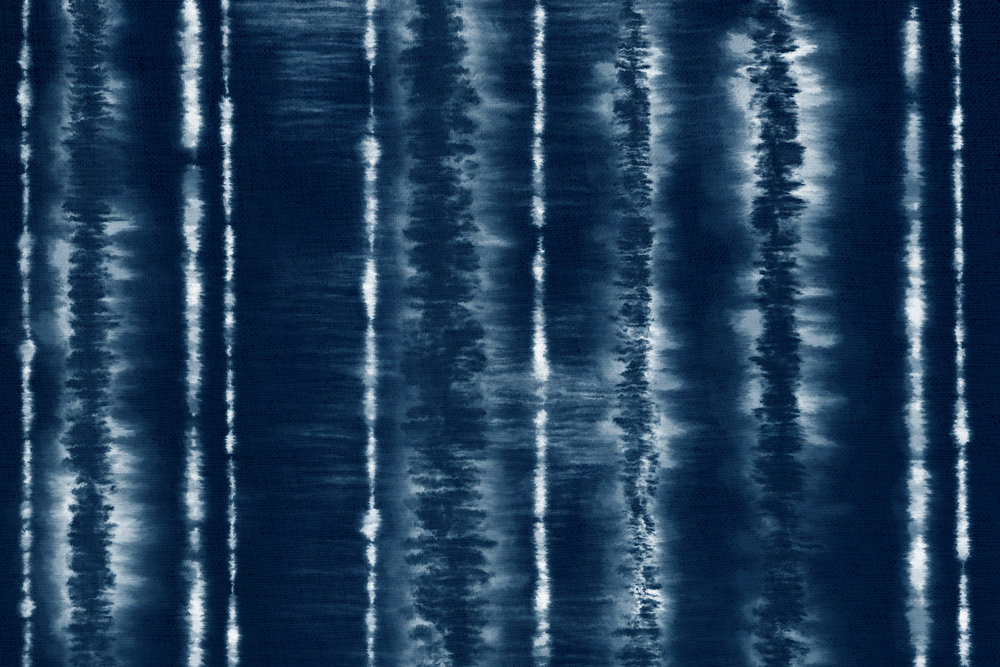
The key to Shibori tie dye patterns is tightness. No rubber bands for this method, because string holds the shirt tighter. So, make sure you have some handy for this project. Twist your shirt up like you would a wet towel to slap someone with. After you’ve got it as tight as possible, roll up like a snail or a poster going into a mail tube. Tie the tight ball of fabric as firmly as possible. Dye with one color and you have created a Shibori design!
Even More Tie Dye Patterns!
Square Pattern
A square dye pattern looks so much harder than it actually is! Just like you did for the triangle pattern, fold your shirt into one long strip. Instead of accordion-folding into triangles, do it in a square shape. You want to to do this tightly! Use cardboard and string or bands to secure the shirt together before submerging into dye.
RELATED: 10 Kids Craft Ideas From Instagram We Love
Fireworks, Baby!
Fireworks tie dye patterns are often done with red and blue dye to feel patriotic, but feel free to experiment. Ball up a wad of fabric and ball it into your fist so that you can apply die with the folds. Dip the wad of fabric into dye and apply to your shirt in various colors.
Red, White, and Blue
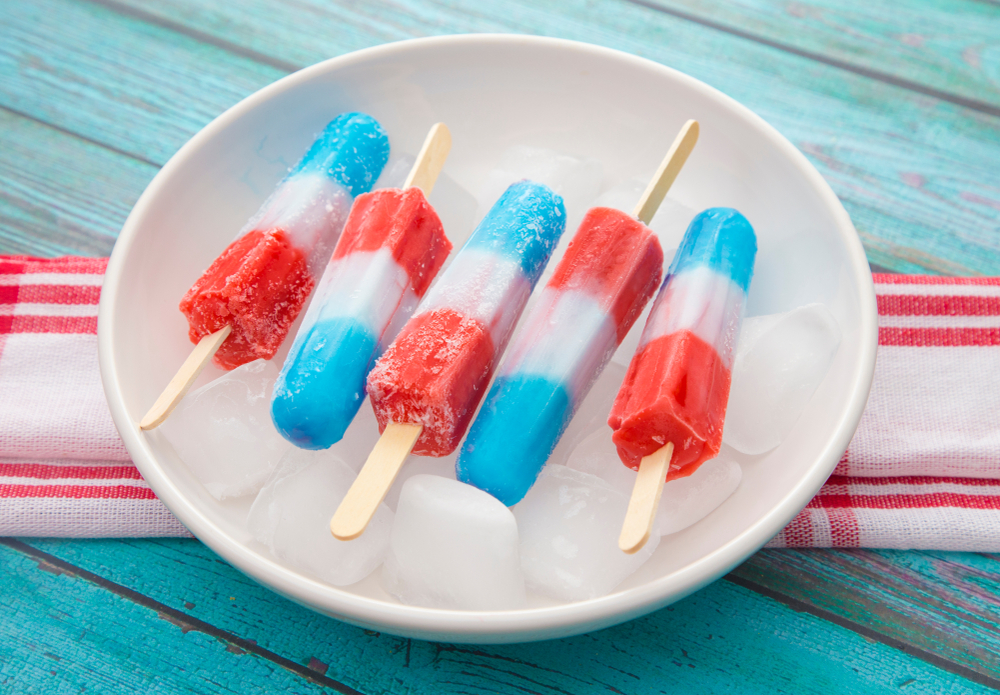
You know those July 4 popsicles? You can make tie dye patterns that look equally as refreshing! Pleat or crumple a shirt up, lengthwise. With two rubber bands, separate the shirt into thirds. Die one end blue, the other red, and leave the center white.
Rainbow Tie Dye Patterns
With a washable marker, draw the top and bottom arches. Inside those lines, fold the shirt like an accordion. Each fold represents another band of color. Secure the shirt with rubber bands. Decide how many colors you want to use. Dot each color per fold and you’ve created a rainbow!
Star Tie Dye Patterns
Kids will love the star shape tie dye pattern just as much as the heart. The process is surprisingly similar. Cut out a star-shape from paper and trace half of the star on each side of a folded shirt. Gather the shirt along the lines you’ve drawn and then, secure with a rubber band!
A Big Burst of Sun!
Want a big burst of sun? We bet your kids do! To create a big burst of sun with tie dye patterns, fold the shirt in half, then in half again, lengthwise. This should roughly give you a square. Pinch up about an inch of the shirt and secure with a rubber band. You’re ready to dye!
Little Sunbursts
You can also do the same method above but on a smaller scale, so, after you’ve folded your shirt, pinch smaller bits of the shirt and secure each with rubber bands. Dye and the shirt will be covered in little sunbursts!
Stripes, Stripes, Stripes!
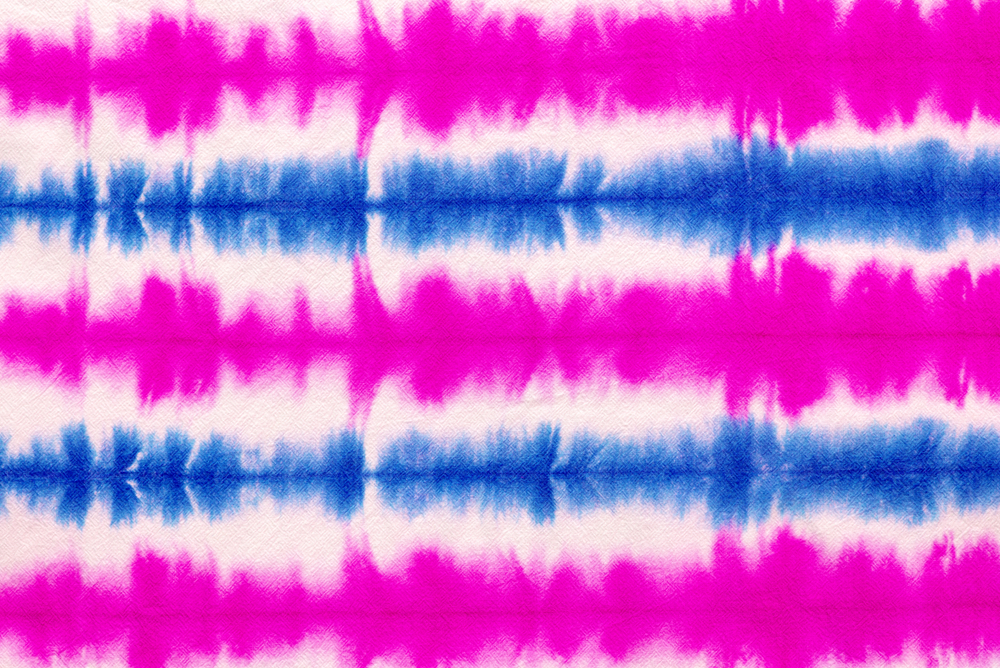
One of the easiest tie dye patterns you and your kids will enjoy is the the stripe pattern. Lay your shirt flat and fold it accordion-style from bottom to the top. Once you’ve got your shirt all folded up, secure each end with a rubber band. Dye goes on either side of the fabric. You’ve got stripes for days!
Diagonal Stripe Tie Dye Patterns
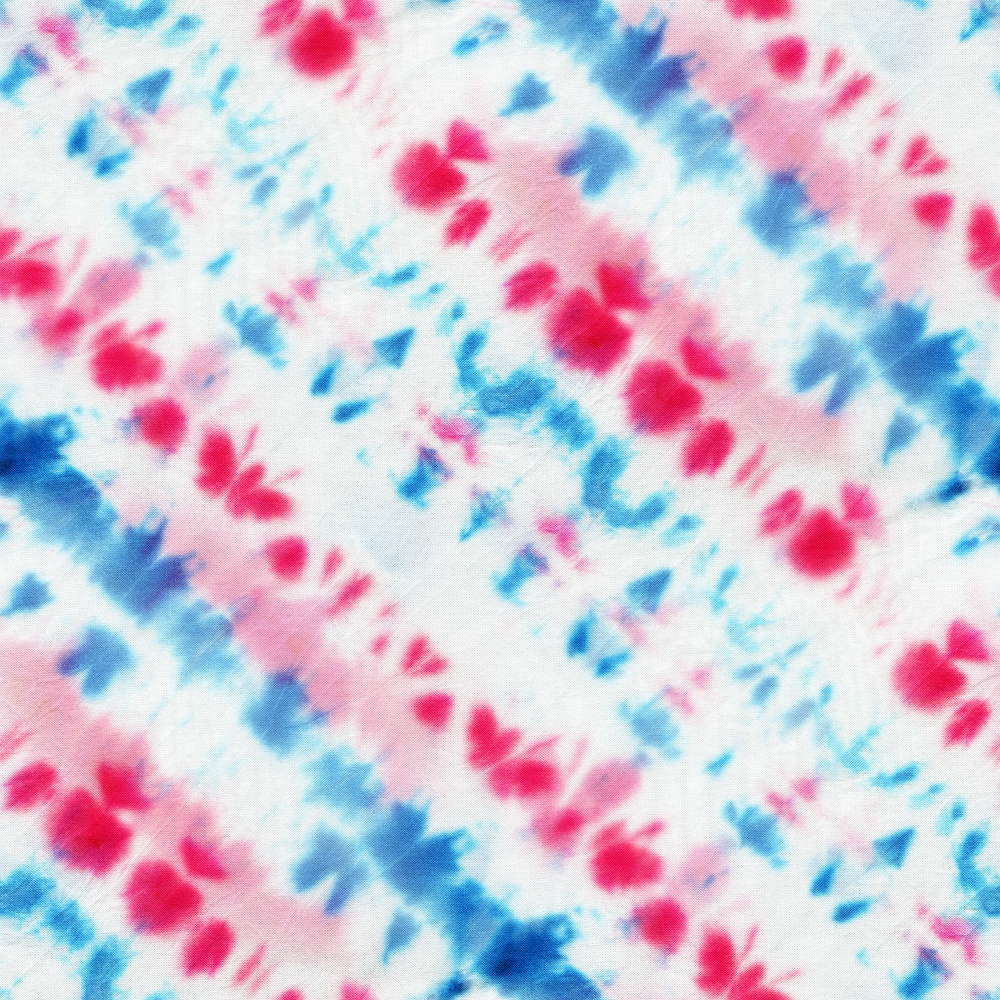
Lay the shirt flat, then fold it accordion-style from one corner to the other. Secure with rubber bands and dye!
The Fade
One of the trendiest tie dye patterns right now is a fade or ombre pattern. Put your shirt on flat on a flat surface. If you want the shirt to be darker at the bottom and get lighter at the top, apply dye to the bottom hem of the shirt with a squirt bottle. With a large, wet paintbrush, gently coax the dye up the shirt. You’ll notice that water is your friend for this technique so liberally wet the brush you are using throughout the process.
Mandela Tie Dye Patterns
Accordion fold an entire shirt or piece of fabric until you’ve got one tightly folded, tall triangle. With washable marker, draw where you want your lines to be, then tie accordingly.
Smile!
This method takes nimble fingers, but it is not impossible! Pinch the center of your shirt and turn it like you would a key. Keep turning in the same direction, encouraging the fabric to swirl around your initial pinch. One the shirt or piece of fabric is swirled tightly into a circle use rubber bands to keep it together. With squirt bottles of dye, draw your face on the circle! Of all the tie dye patterns on this list, this one is most likely to make the kids smile!
YOU MIGHT ALSO LIKE: 6 Safe and Creative Activities You Can Do With the Kids Outdoors This Summer
Peace Sign Tie Dye Patterns
For ease, you will want to follow this video tutorial as this is one of the more advanced tie dye patterns on this list. With washable marker, draw a circle on your shirt or cloth. Then, fold the cloth to form the lines of the peace sign before tying.
Mickey Mouse Tie Dye Patterns
Fold your shirt in half. With a washable marker, trace a pattern or draw the Mickey Mouse shape on one half. With small pleat folds, follow along the shape you have traced. The smaller the pleats the better! Once you’ve got it all folded up, secure with string or a tight rubber band! How cute is this? This is not an easy one, but for kids with plenty of patience, this is one of the most rewarding tie dye patterns on the list!
There you go! I hope you found some tie dye patterns to try with your kids. This craft is truly a blast! It’s very forgiving so even if you mess up, you still have a shirt that’s way more fun than when you started. Tie dye is the perfect warm weather craft to do in the sun! Enjoy these tie dye patterns with your kids today!
Mamas Uncut is THE online place for moms. We cover the latest about motherhood, parenting, and entertainment as well – all with a mom-focused twist. So if you're looking for parenting advice from real parents, we have plenty of it, all for moms from moms, and also experts. Because, at the end of the day, our mission is focused solely on empowering moms and moms-to-be with the knowledge and answers they’re looking for in one safe space.
